
Setting up your Canon IJ wireless printer setup (Call USA/CA: +1-8O1-878-6858) doesn’t have to be complicated. Whether you're connecting it to a Windows computer, Mac, or mobile device, the process is straightforward as long as you follow the right steps. This guide will walk you through everything you need to complete your Canon IJ wireless printer setup quickly and easily.
👉👉 Live Chat With Us For Canon Support 👈👈
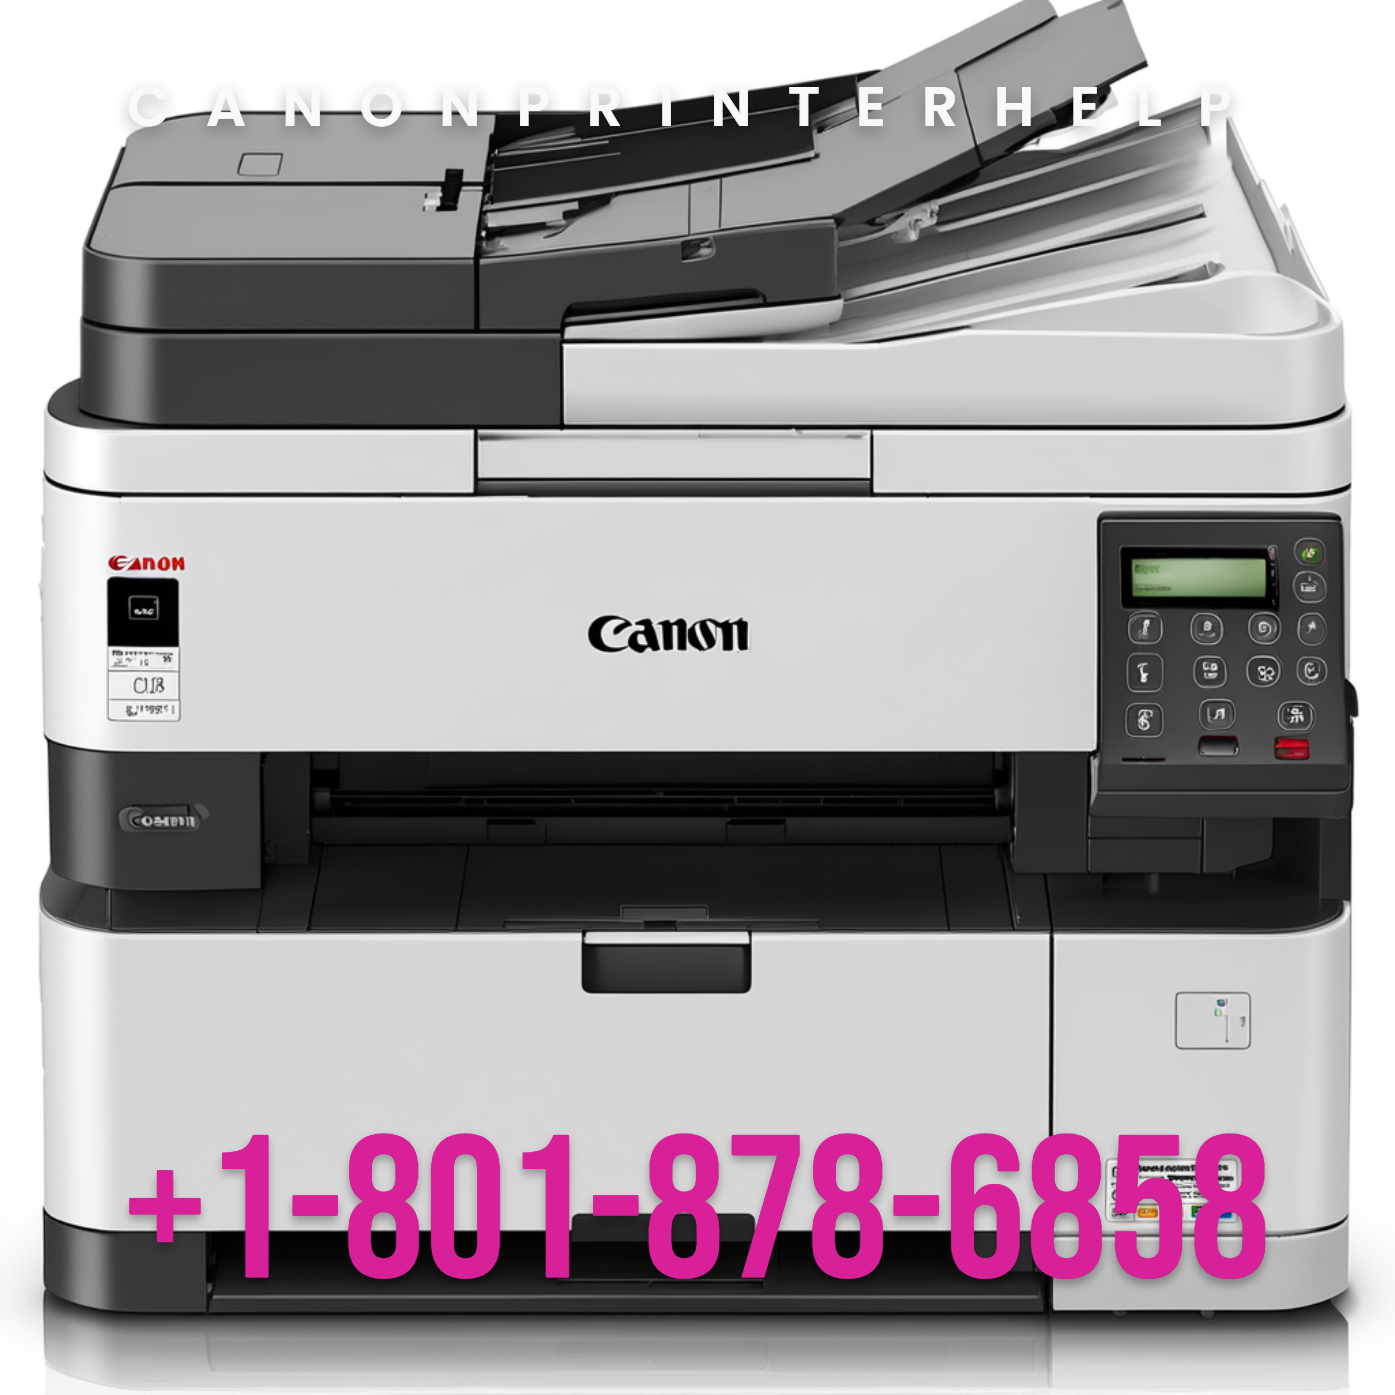
1. Prepare Your Canon Printer for Setup
Before starting the wireless installation, make sure your canon Ij wireless printer setup (Call USA/CA: +1-8O1-878-6858) is ready.
Do the following:
Unbox the printer and remove any packaging materials.
Install the ink cartridges supplied in the box.
Load plain paper into the tray.
Plug the printer into a power outlet and turn it on.
Once your Canon printer completes its initial startup, you’re ready to begin the wireless setup.
2. Connect the Canon Printer to Wi-Fi
Connecting your Canon IJ printer to Wi-Fi is the most essential step. Without this, your computer or mobile device won’t detect the printer wirelessly.
Method A: Using the Printer Control Panel
For Canon printers with a display screen:
Open the Setup or Menu button.
Select Wireless LAN Setup.
Choose your Wi-Fi network (SSID).
Enter your Wi-Fi password using the on-screen keypad.
Wait for a confirmation message such as “Connected” or a steady blue Wi-Fi light.
Method B: Using WPS (No Display Screen Models)
If your Canon printer doesn’t have a screen:
Press the WPS button on your router.
On the printer, press and hold the Wi-Fi or Wireless button until the Wi-Fi light flashes.
The printer will automatically connect to your router.
When the Wi-Fi light stops blinking and becomes solid, the connection is successful.
3. Download and Install the Canon IJ Setup Software
To complete the installation, you must install the official Canon drivers and utilities.
Steps:
Open your preferred browser.
Visit the Canon Support website.
Type your printer model in the search bar (e.g., Canon Pixma G3010, TS3320, MG3670).
Choose your operating system — Windows 10/11 or macOS.
Download the Full Driver & Software Package or IJ Setup Tool.
Once downloaded, open the file and follow the on-screen instructions.
This software allows your computer to recognize the printer, perform wireless setup, and install scanning tools if included.
4. Add the Printer to Your Computer
Even after the software is installed, you must add the printer to your computer manually.
Windows Setup:
Open Settings > Bluetooth & Devices > Printers & Scanners.
Click Add Device.
Select your Canon IJ wireless printer from the list.
Click Add and wait for installation to complete.
If the printer does not appear:
Make sure your computer is connected to the same Wi-Fi network
Reboot the printer and computer
Try installing the printer using the IP address listed on the printer’s network page
Mac Setup:
Go to System Settings > Printers & Scanners.
Click the + (Add Printer) button.
Choose your Canon printer from the list.
Click Add.
macOS may download any required drivers automatically during installation.
5. Install the Canon PRINT App (Optional)
If you want to print from your smartphone or tablet, use the Canon PRINT Inkjet/SELPHY app.
To set up mobile printing:
Download the app from the App Store or Google Play Store.
Open the app and select Add Printer.
Make sure your phone is connected to the same Wi-Fi network as the printer.
Follow the prompts to complete pairing.
Your printer is now ready for mobile printing, scanning, and status monitoring.
6. Print a Test Page
To confirm everything works, print a test page from your computer or mobile device.
On Windows:
Go to Printer Properties and select Print Test Page.
On Mac:
Open the Print Queue, then choose Printer > Print Test Page.
If the test page prints successfully, your Canon IJ wireless printer setup installation is complete.
Final Thoughts
The Canon IJ wireless printer setup is easy when you follow the correct steps: connect the printer to Wi-Fi, install the drivers, add the printer to your computer, and optionally enable mobile printing. Once everything is configured, you’ll enjoy fast, cable-free printing from any device on your network.


Write a comment ...