
Connecting your Canon printer to WiFi (Call USA/CA: +1-801-878-6858) gets you wireless printing from laptops, phones, and tablets — no cables, no fuss. Below is a clear, step-by-step guide that covers every common way to connect: WPS, the printer control panel, Canon’s app, Windows, and Mac. Includes troubleshooting and tips so you finish with a successful test print.
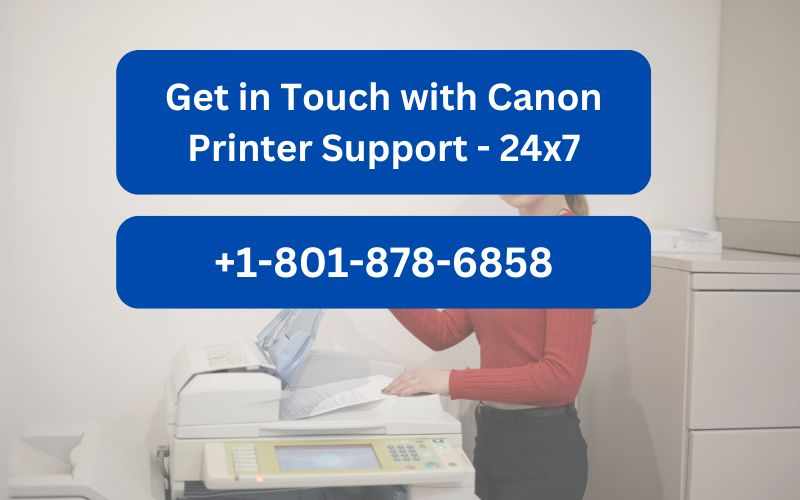
For Canon Printer Helpline Or Customer Support
Quick checklist before you start
Make sure the printer is powered on and in range of the router. Confirm the WiFi network name (SSID) and password, and know whether your router uses 2.4 GHz or 5 GHz (many Canon printers work best on 2.4 GHz). Turn off any guest network separation or MAC filtering while you set up if you can.
Method A — WPS push-button (fastest, if your router supports it)
Place the printer near the router so signal strength is strong. On the printer press and hold the WiFi button until the light flashes (check your model manual for exact button). Within two minutes, press the WPS button on your router. Wait until the printer’s WiFi lamp becomes steady — that means it has joined the network. Print a network status or test page from the printer menu to confirm.
Method B — Using the printer’s control panel (recommended for most models)
Turn the printer on and open the setup or settings menu. Navigate to “Network settings” or “Wireless LAN setup.” Choose “Standard setup” or “Search and select network.” Select your SSID from the list, type your WiFi password using the on-screen keyboard, and confirm. The printer will attempt to join the network; a steady WiFi indicator or confirmation message means success. Print a network settings page to verify IP address and connection status.
Method C — Canon PRINT Inkjet/SELPHY app (mobile devices)
Download the Canon PRINT Inkjet/SELPHY app to your phone or tablet. Open the app and follow the prompts to add a new printer. The app will detect nearby Canon printers and walk you through connecting the printer to your WiFi network. This method is handy for smartphones and supports WiFi Direct setup if you want to print without a router.
Method D — Connect via computer (Windows)
Install the latest Canon driver/software package from Canon’s support +1-801-878-6858 if you don’t already have it. During installation choose the wireless setup option. The installer will search for the printer and prompt you to enter the WiFi password. Alternatively, use the “Add a printer” wizard in Windows settings and choose the network printer once it appears. Finish the driver installation and print a test page.
Method E — Connect via computer (Mac)
On Mac go to System Preferences > Printers & Scanners. Click the plus button to add a printer. If your Canon is already connected to the same WiFi, it should appear in the list. Select it and macOS will usually apply AirPrint drivers automatically. If you need Canon software for full features, download the latest macOS drivers from Canon and install them, then add the printer again.
WiFi Direct and Canon Wireless Direct (no router)
If you need to print without a network, enable Canon Wireless Direct or WiFi Direct on the printer. On your phone or laptop join the printer’s direct WiFi network, open the Canon PRINT app or send a print job directly. Remember to disable Wireless Direct once you finish if you want the printer available on your normal WiFi again.
Troubleshooting tips if connection fails
If the canon printer won’t connect +1-801-878-6858, confirm the password and SSID are correct and that you aren’t trying to connect to a hidden or guest network. Move the printer closer to the router to rule out signal weakness. Check that your router’s DHCP is enabled or, if assigning manually, add a static IP in the printer menu that matches your subnet. Temporarily disable firewall or security software if you suspect it’s blocking discovery. Update the printer firmware via Canon’s support site if the model supports over-the-air updates. Finally, a factory network reset on the printer clears corrupted settings and lets you start the setup fresh.
Final checks and test print
After connection, print a test page or use the Canon PRINT app to do a test job. Verify the printer’s IP address and status page to confirm it’s on the right network. On computers, set the Canon as the default printer if you prefer, and remove older, unused printers to avoid confusion.
Quick security tips for Connect Canon Printer to WiFi
Use WPA2 or WPA3 encryption on your router, set a strong WiFi password, and avoid leaving Wireless Direct enabled permanently. If you assign a static IP, document it so you can find the printer on the network later.
FAQ For How to Connect Canon Printer to WiFi
Q. What band should I use?
Use 2.4 GHz for compatibility unless your Canon model explicitly supports 5 GHz.
Q. Why does my printer appear offline after setup?
It could be an IP conflict or the router reassigning addresses. Assign a static IP or reserve one in your router’s DHCP.
Q. Can I set this up without a computer?
Yes — use WPS, the printer control panel setup, or the Canon PRINT app.
Q. What if the printer is still not discovered by apps or OS?
Update firmware/drivers, disable interfering firewalls, and try a network reset on both router and printer.
Following these steps should get your Canon printer connected and printing wirelessly. If problems persist after trying the methods and troubleshooting above, contacting Canon support +1-801-878-6858 for model-specific help is the next best step.


![Why Is My Canon Printer Not Connecting to Wi-Fi? [Complete Guide]](https://sk0.blr1.cdn.digitaloceanspaces.com/sites/880268/posts/1288401/canon-printer-2.png)

![[2025 Fix] How to Fix a Canon Printer That Won’t Connect to Wi-Fi](https://sk0.blr1.cdn.digitaloceanspaces.com/sites/880268/posts/1285907/CANON-Customer-Service-USA-Helpline.jpg)


Write a comment ...